Why Sanding Is the Smartest Way to Revitalise Timber Boards
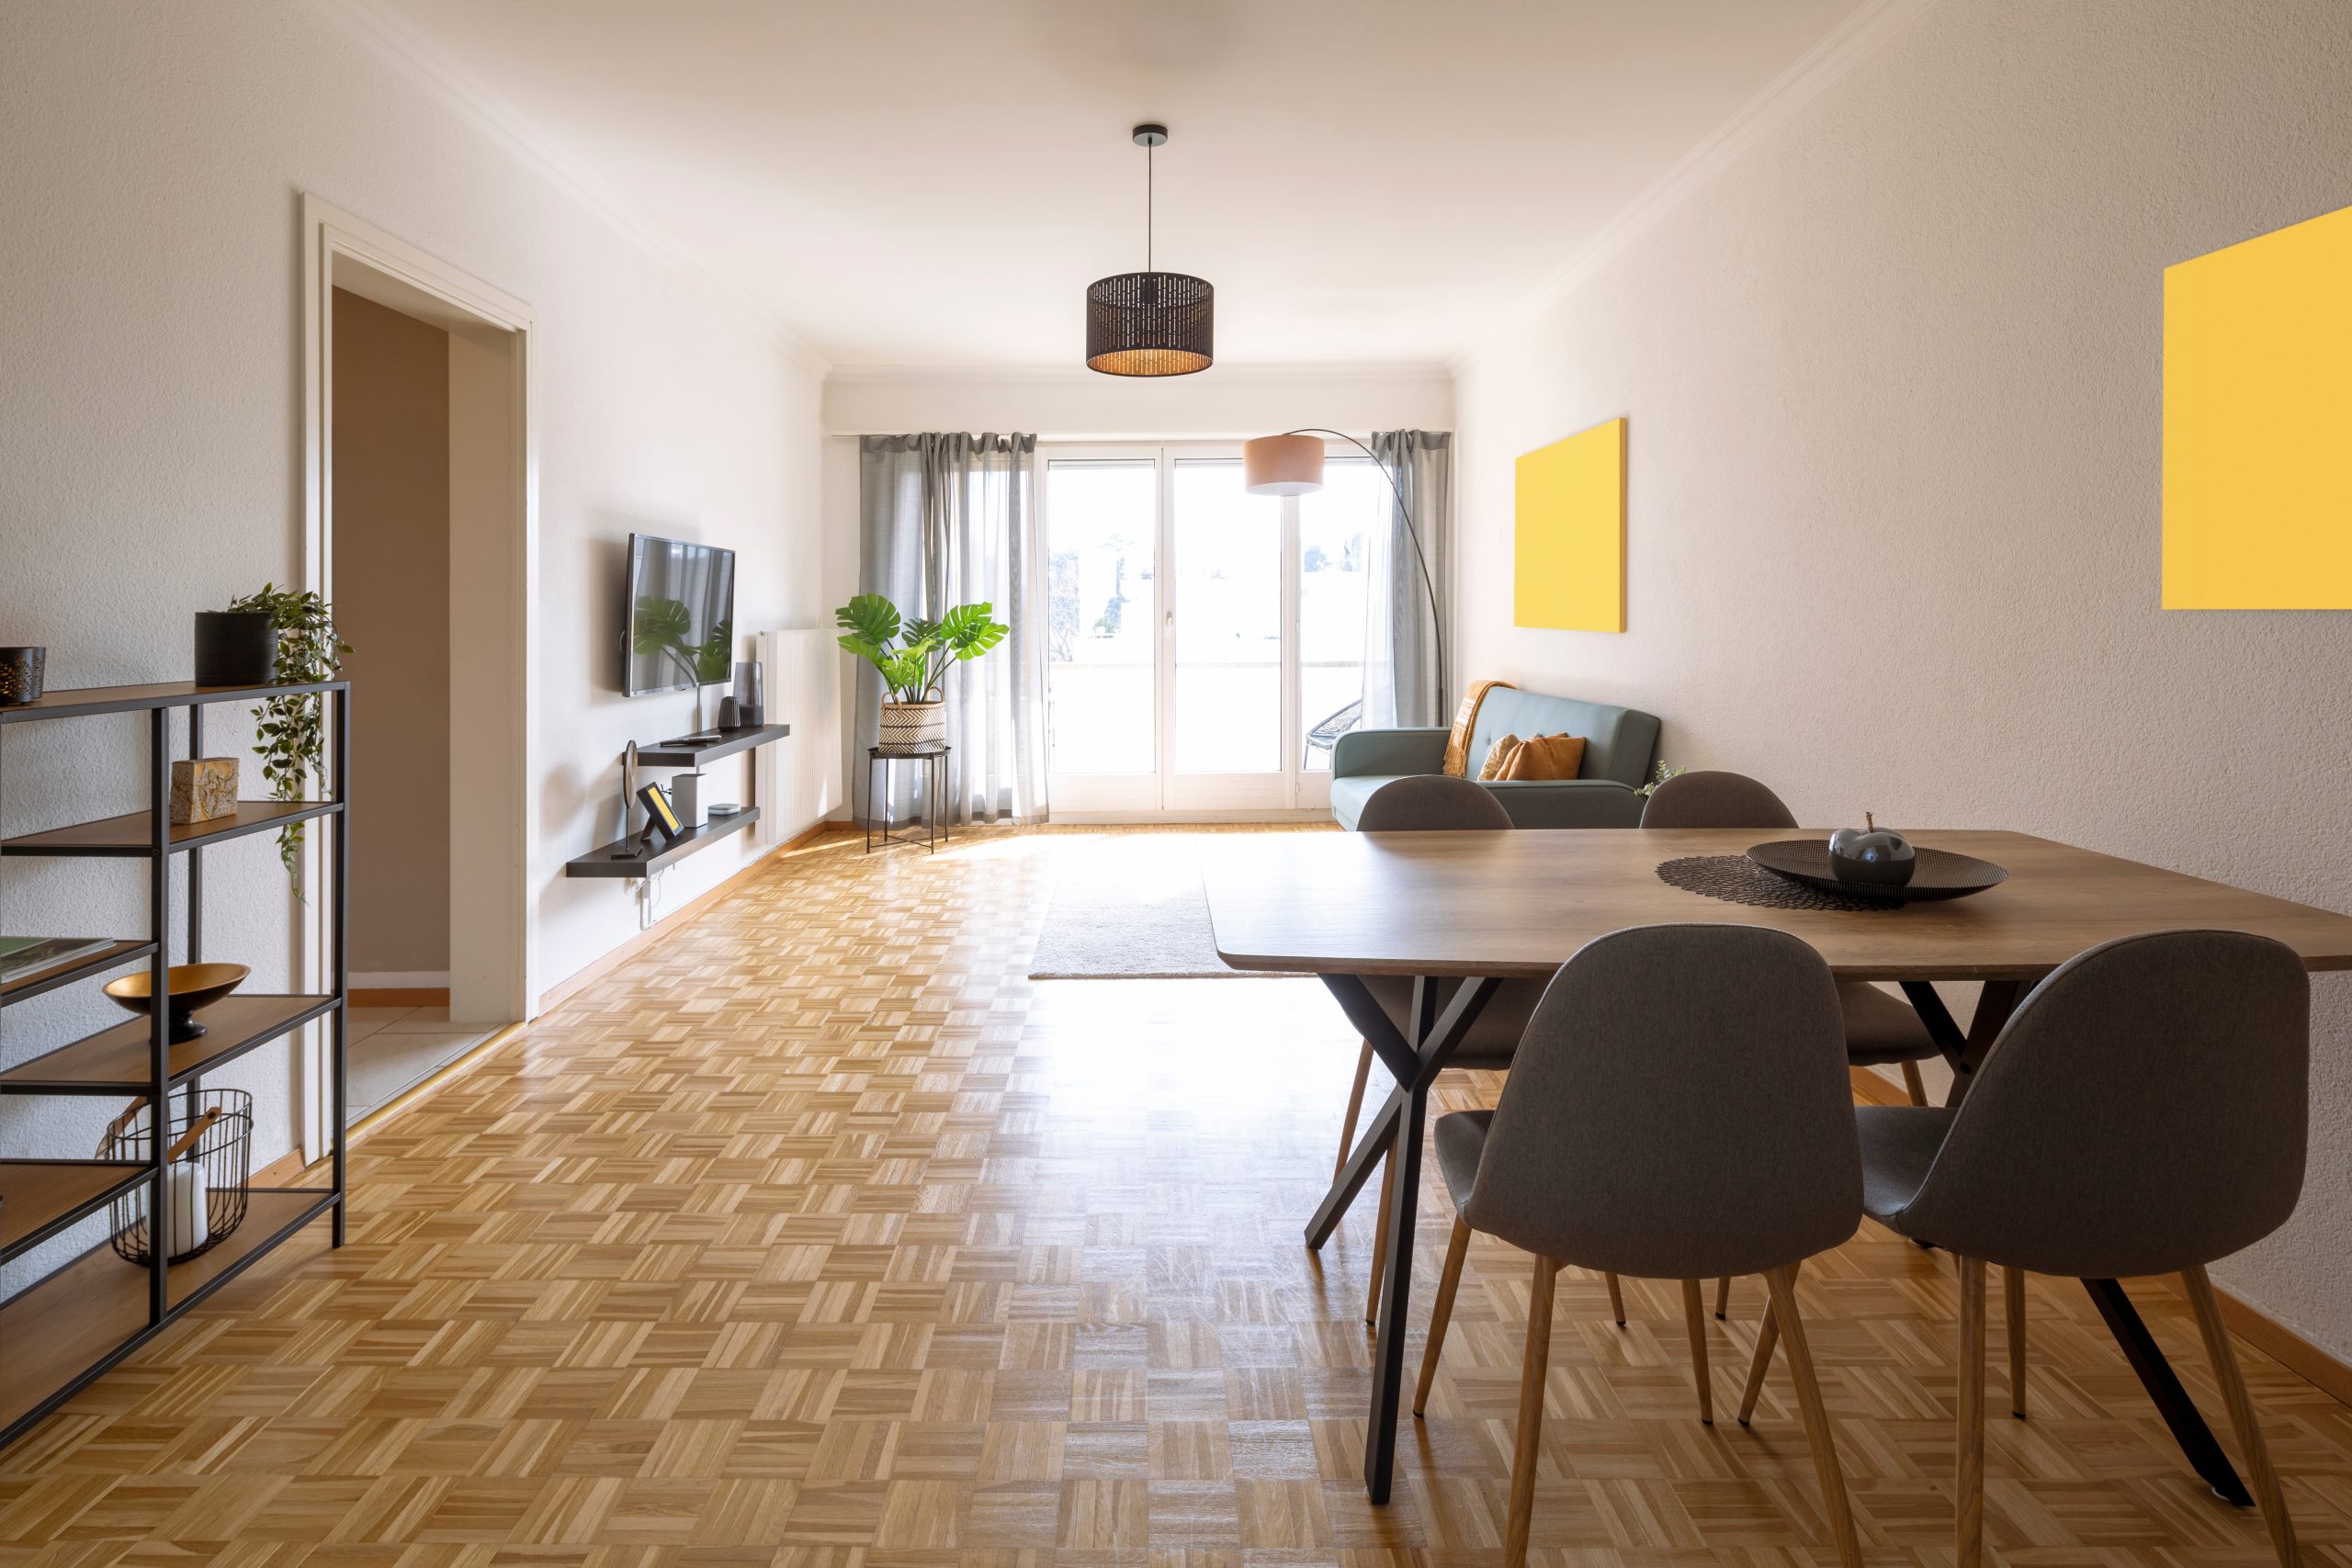
Walking into a room revitalised through Expert Wood Floor Sanding is like stepping back to the day your house was built. The boards feel solid underfoot, natural grain dances in the light, and every knot tells a silent story of English forests long gone. Yet many Hounslow properties keep these treasures hidden beneath thread-bare carpet, yellowed lacquer, or layers of household paint. Whether you live in a red-brick Victorian terrace near St Stephen’s Church, a 1930s semi in Whitton, or a riverside apartment at Brentford Lock, your floor can look spectacular again with one well-planned makeover.
Think of sanding as a deep exfoliation for timber: it scrubs away surface imperfections, unveils fresh wood, and prepares the grain to accept modern sealers that protect more effectively than products sold even a decade ago. Combine that with today’s near-dust-free extraction and you gain the beauty of a bygone craft without the mess once infamous in television makeover shows. The following guide sets out everything you need to know – from deciding whether your floor is a good candidate, through each technical stage of the process, to maintaining that showroom finish for years to come.
Why Sand Your Floor at All?
Hardwood and softwood boards are unique among building materials: they are both structural and decorative. When properly protected, they will outlast the roof above them. But daily life in a busy household is relentless. Grit carried in from Hounslow High Street, pet claws, wheeled suitcases, and rearranged furniture slowly erode the finish. Left unchecked, that wear creeps through the protective coating and into the timber itself, causing splinters, black water stains, and bullying draughts that whistle between loose boards.
New floors cost money, time, and environmental resources. A middle-of-the-road engineered oak plank retails at about £45 per square metre before underlay, glue, or labour; add removal of the existing covering and you soon tally thousands. Sanding redeploys what you already own, and because the boards are acclimatised to your home they are less prone to seasonal movement than fresh timber. There is also a charm that only original floorboards possess: the odd mellow knot, the historic nail-hole, subtle colour variations created by a century of sunshine. Restoration celebrates these quirks rather than erasing them.
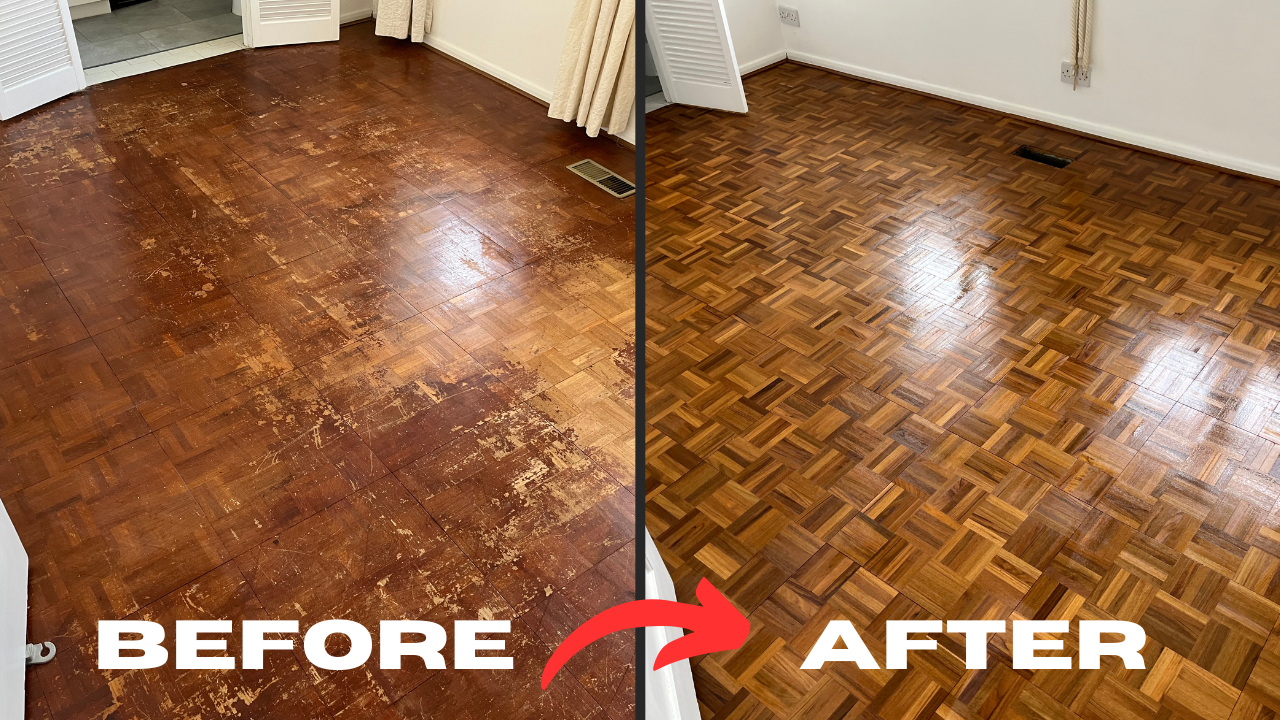
Five Benefits of Commissioning Expert Wood Floor Sanding
- Cleaner Air – Industrial-grade continuous-vacuum machines capture more than 97 per cent of airborne dust, protecting furniture, electronics, and the lungs of your family.
- Design Freedom – A newly sanded surface absorbs coloured stains evenly, letting you shift from orange pine to Scandinavian blonde or glamorous walnut without blotches.
- Hidden Hygiene – Old finishes trap decades of pollen, pet dander, and household pollutants. Sanding sweeps them away, making life easier for asthma and allergy sufferers.
- Structural Strength – Loose nails are punched, broken boards replaced, and gaps filled, restoring the floor’s ability to spread loads evenly and silence squeaks.
- Swift Turn-Around – With high-build lacquers that cure in a few hours, most living rooms are ready for light use the very next day and full use within 72 hours.
The Professional Sanding Process Explained
Booking a survey with Expert Wood Floor Sanding sets in motion a tried-and-tested sequence designed to deliver spectacular results with minimal disruption.
1. Detailed Assessment
A trained surveyor tests sub-floor moisture, identifies timber species, and checks for historical quirks such as Victorian hearth borders or modern under-floor heating pipes. Any structural concerns are highlighted and a written quotation follows within 24 hours.
2. Preparation & Protection
On the day work begins, technicians empty the room or mask large built-ins with anti-static sheeting. Skirting boards are taped, smoke alarms covered, and doorways sealed to stop escaping dust.
3. Coarse Levelling
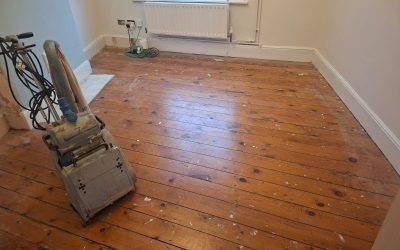
Powerful belt sanders remove cups, crowns, and lipping between boards, stripping old finish at an aggressive 36- or 40-grit. Edge sanders and corner planes reach into every recess.
4. Medium & Fine Cuts
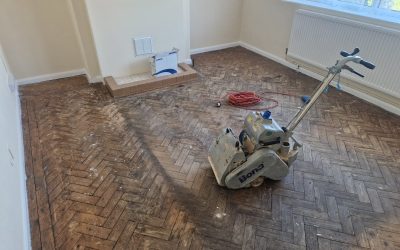
Successive passes step down the grit sequence – usually 60-, 80-, 100-, and 120-grit – each one erasing the scratches left by the stage before. On parquet, a planetary trio sander smooths the cross-grain blocks without tear-out.
5. Gap Filling
Fine dust from the final pass is mixed with resin or flexible putty and forced into board joints, stopping draughts and giving the finished floor a seamless appearance.
6. Burnishing & Vacuuming
A rotary buffer fitted with a maroon pad polishes the surface; twin-motor vacuums remove the last traces of debris so no rogue fibre can spoil the finish.
7. Priming & Sealing
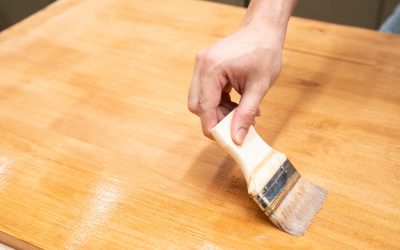
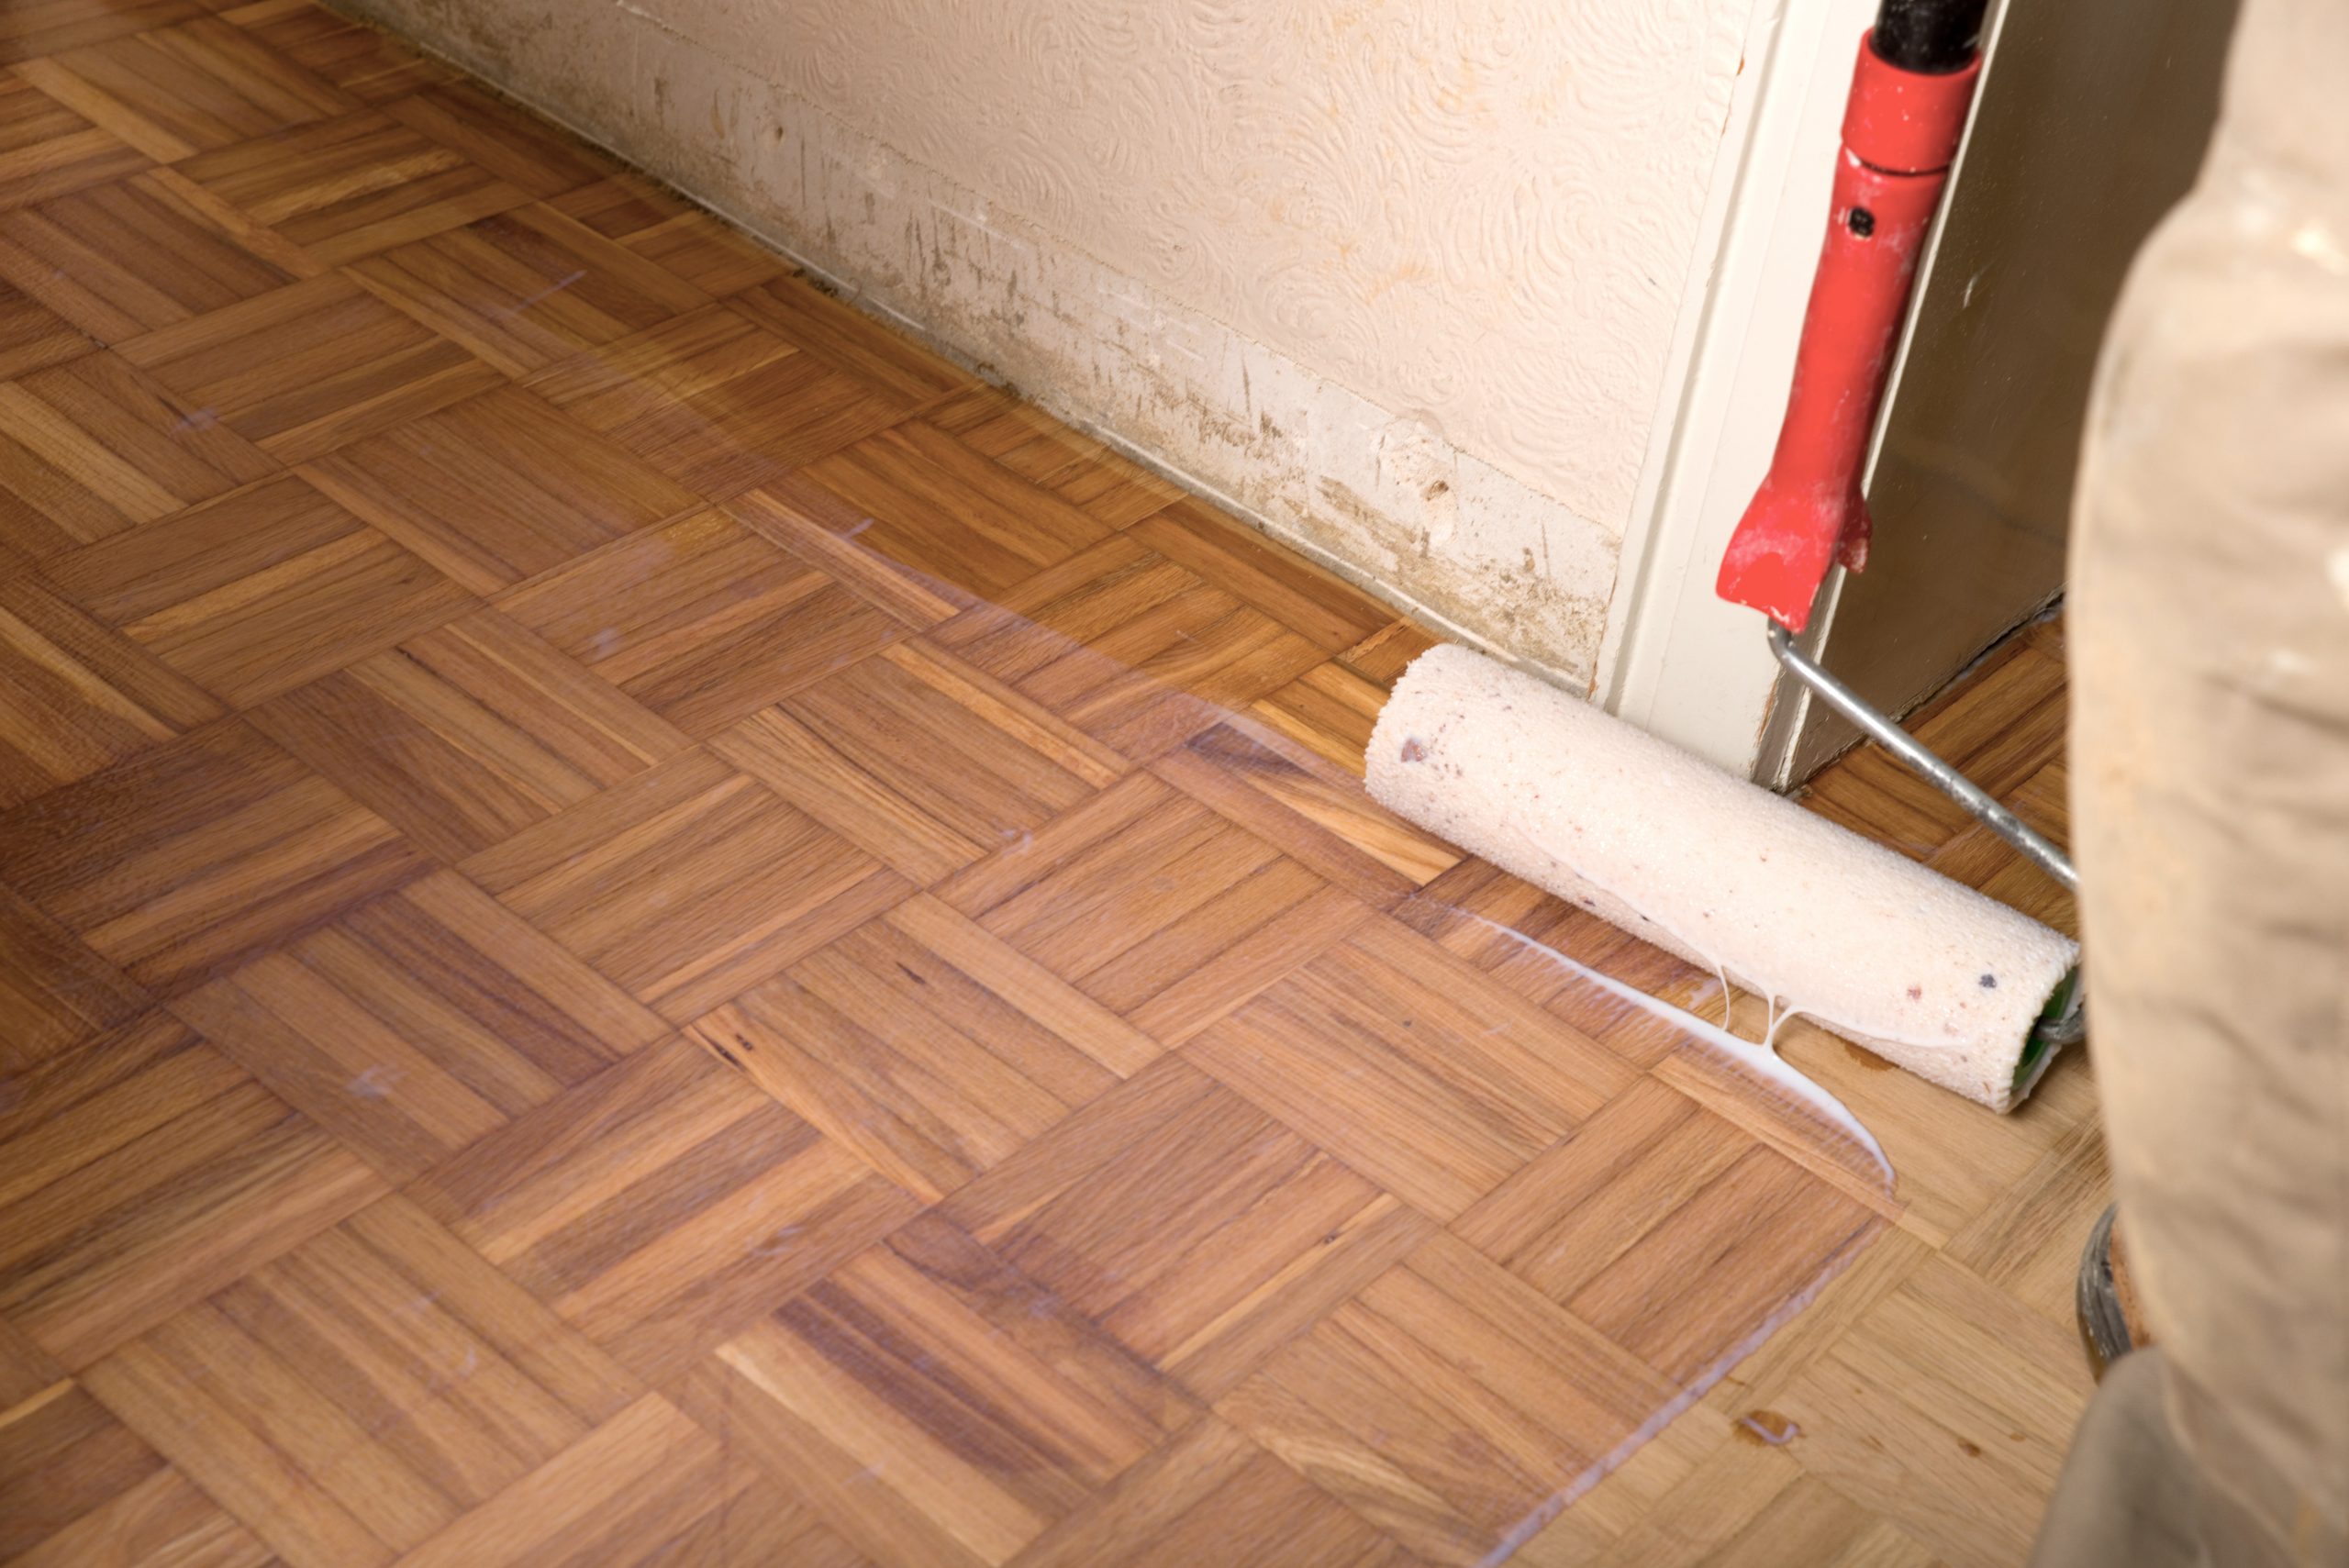
Depending on taste and lifestyle, you may choose a clear commercial lacquer, a natural hardwax oil, or a pigmented stain followed by two protective coats. Fast-curing products allow light foot traffic within two to four hours, often meaning you can sleep in your own bed the same night.
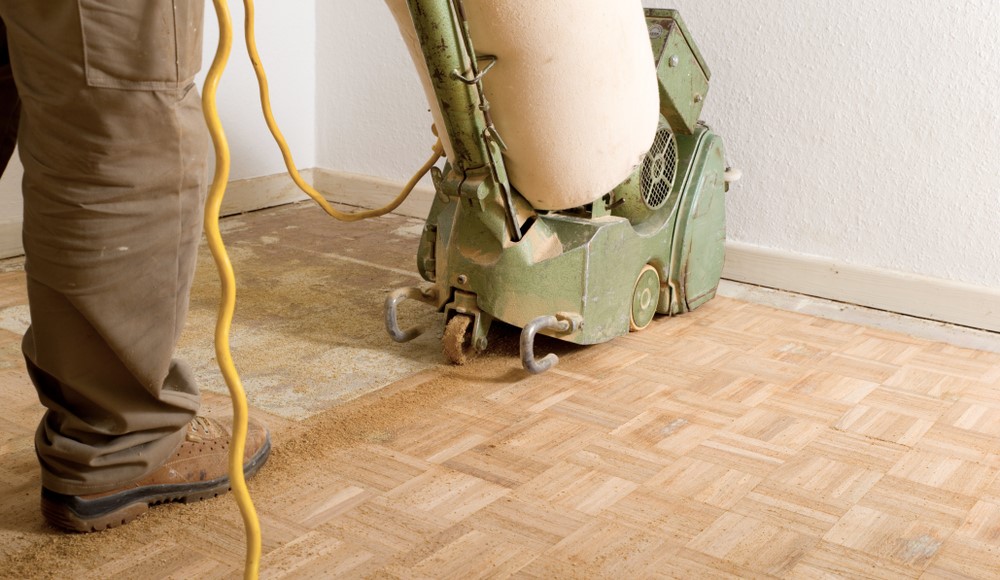
The greatest myth surrounding sanding is that it fills every inch of the house with powder. That reputation dates back to the 1980s when open-bag drum sanders and paper filters were standard. Today’s continuous extractors create negative pressure at the sanding head, pulling waste directly into HEPA-rated canisters. Technicians also adjust machine speed and belt pressure based on moisture content and species density – slowing down on softer pine to avoid rippling, speeding up on dense maple to maintain perfect flatness.
Another often-overlooked step is feathering door thresholds. Within multi-room projects, the team blends the sanding passes through open doorways so that when finishes overlap the joints are invisible. This matters in Hounslow’s popular open-plan extensions where sightlines run uninterrupted from kitchen to garden and any ridge would catch the eye.
Where under-floor heating is present, surface temperature is measured and, if necessary, the system is temporarily reduced to below 18 °C. Excess heat accelerates finish cure, preventing proper levelling and diminishing durability. Factoring in these small details is what separates a high-street handyman from a specialist crew.
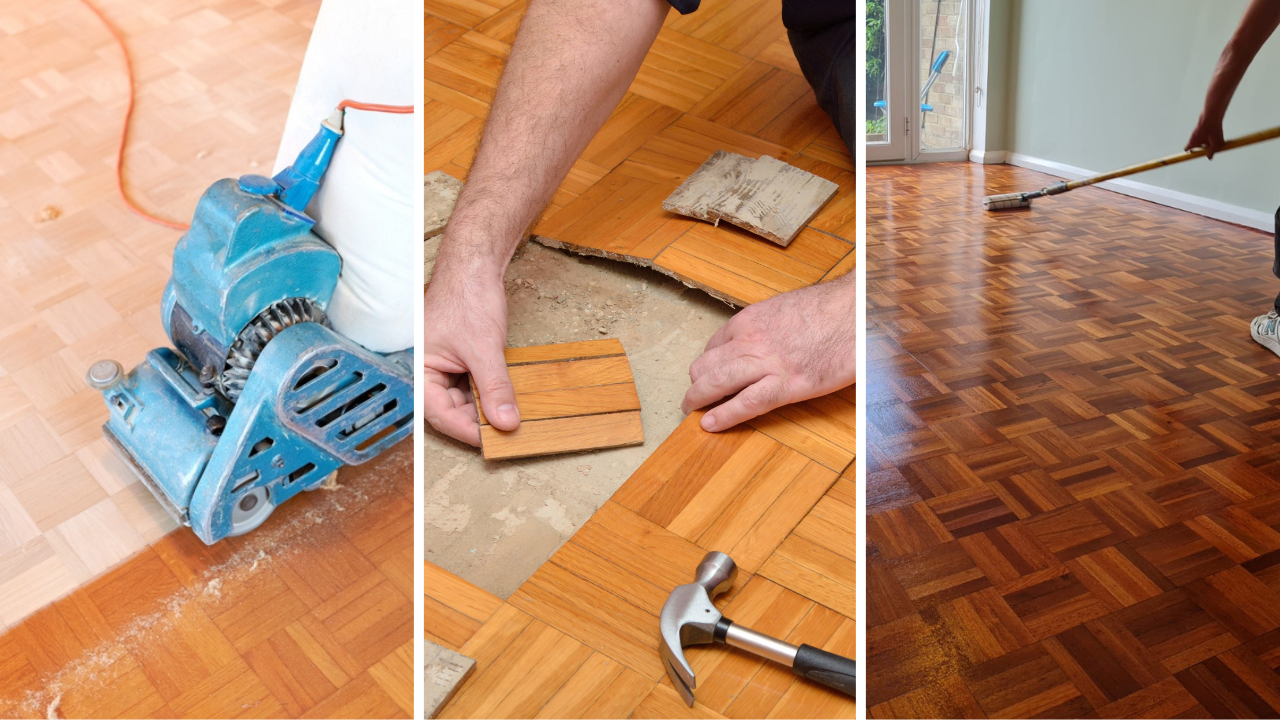
Choosing the Right Finish for Your Lifestyle
Every household rhythm is different. A riverside rental flat with rolling suitcases day and night needs a rock-hard polyurethane lacquer that laughs at scuffs. A young family in Cranford, keen to keep VOCs low, may favour penetrating oil finished with a silky wax top-coat that can be patched locally after a rogue toy car leaves a dent. During your consultation, the advisor from Expert Wood Floor Sanding will apply sample stains and sealers directly onto your own boards so you can judge colour under your lighting rather than on a showroom swatch.
If you love a super-matt Scandinavian aesthetic, ask about two-component invisible lacquers. These mimic the look of raw, unfinished oak yet withstand high traffic. Fans of heritage style might prefer traditional shellac sealer under a wax top-dress for a soft, velvety sheen that highlights every growth ring.
Aftercare: Keeping That Showroom Shine
A correctly sealed floor is remarkably easy to look after, yet a few simple habits will preserve the handiwork of Expert Wood Floor Sanding for decades:
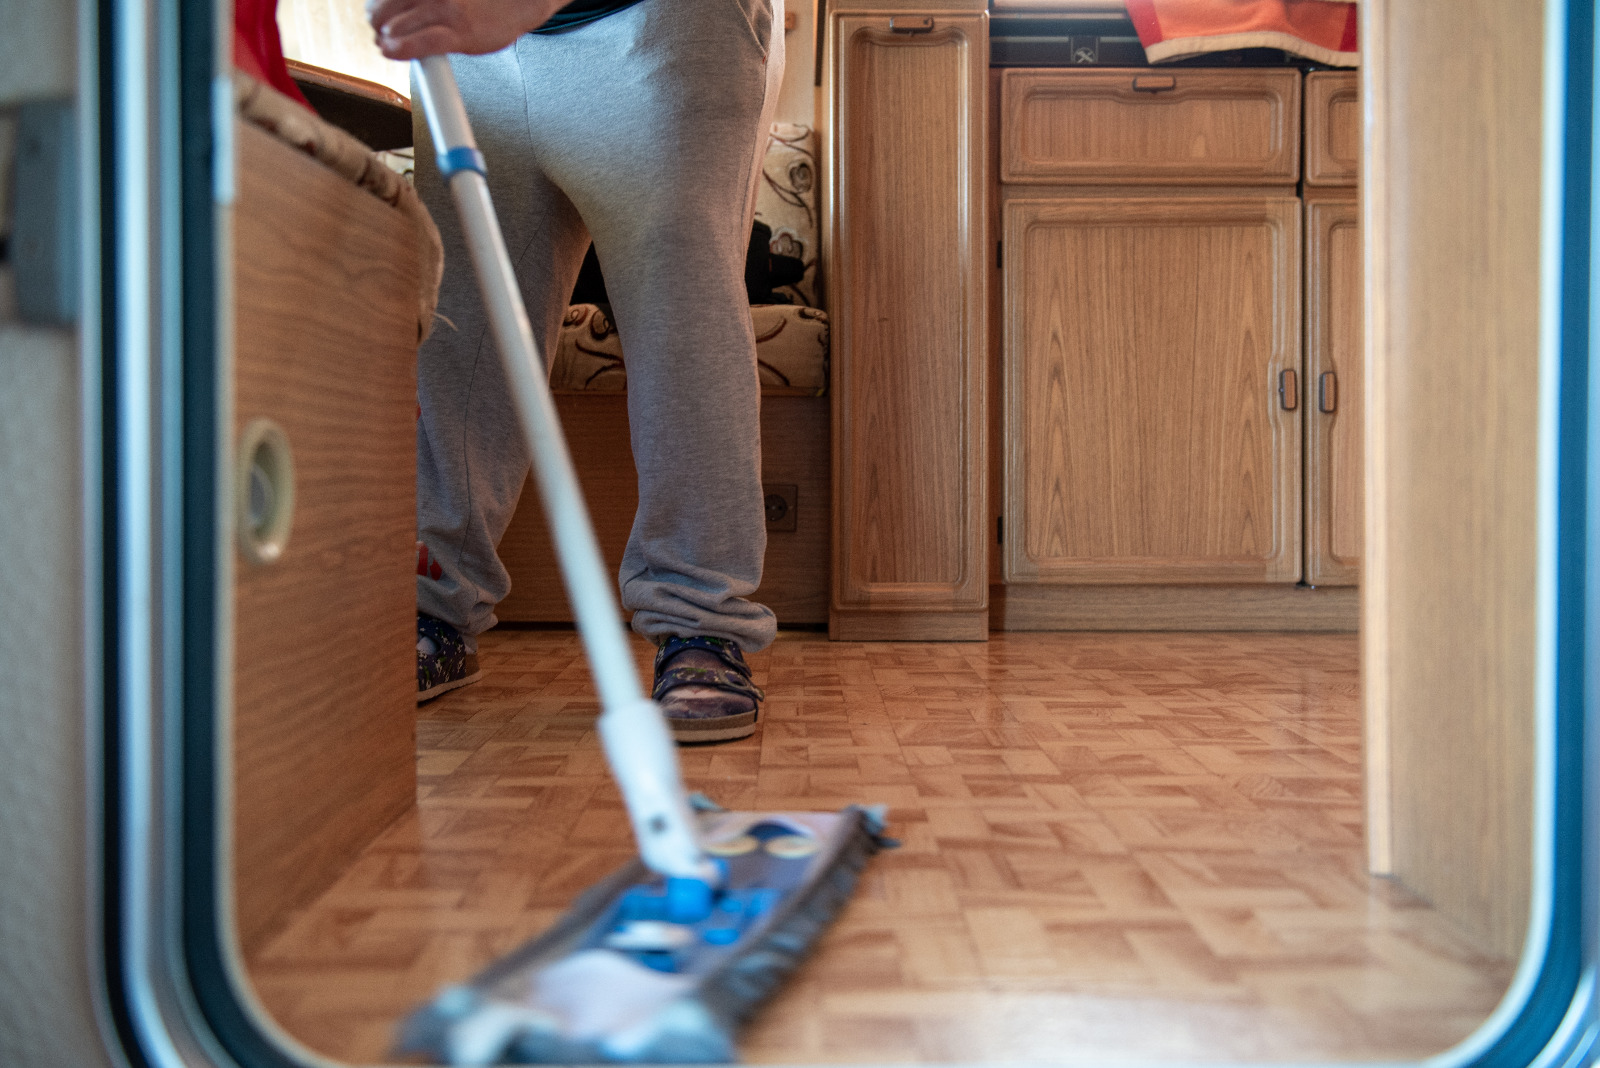
- Dry Clean Daily – A quick once-over with a microfibre pad captures abrasive grit before it can bite.
- Damp Mop Weekly – Use a barely moist head and a pH-neutral cleaner; never saturate the boards or wield a steam mop.
- Guard Against Furniture Scuffs – Fit felt pads under chair legs and heavy bookcases. Replace cheap plastic castors with soft rubber.
- Refresh the Finish – Lacquered floors benefit from a single additional top-coat every eight to ten years. Oiled floors love a maintenance oil after 24 months and a light re-buff thereafter.
You should also adopt a door-mat strategy: coarse bristle outside, absorbent textile inside. Research by the Timber Research and Development Association shows that trapping just 80 per cent of incoming grit can extend finish life by up to five years. If you own pets, keep claws trimmed; a dog’s enthusiastic skitter can behave like 40-grit sandpaper over time. Spills need prompt attention but there is no need to panic – modern lacquers resist wine, coffee, and household cleaners for the length of most family dinners.
Hounslow’s Architectural Quirks – and How They Affect Sanding
Being one of London’s largest boroughs, Hounslow offers a catalogue of building eras in just a few postcodes. In Spring Grove you will find pitch-pine boards laid with feather-tongue joints; in Hanworth the post-war estates favour beech parquet mosaics; while the Grand Union Canal warehouses converted in the early 2000s often sport engineered oak floating on acoustic matting. Each substrate demands a different approach to drum pressure, grit sequence, and sealing chemistry. A general-purpose hire machine is unlikely to handle them all with equal grace.
Older terraced homes frequently reveal a patchwork of past repairs: hearth areas infilled with concrete, bathroom leak damage, and ad-hoc plumbing holes. Experienced technicians assess whether to patch with reclaimed timber, insert dutchmen joints, or graft matching parquet blocks. They source replacements from reclamation yards in Acton and Mitcham to ensure the same growth-ring tightness and colour tone. In converted warehouse apartments, noise transfer between units is a hot topic; here the sanding team avoids overshooting nails that might otherwise create acoustic bridges through the joists below.
Case Study: Victorian Hallway Revival in Isleworth
Mrs Karim inherited beautifully proportioned rooms but a hallway covered in black bitumen from a long-removed runner. After testing, technicians removed 1.2 millimetres of surface, stitching in two reclaimed boards where a coal chute had rotted the originals. A warm “Jacobean Oak” stain unified old and new, followed by three coats of commercial satin lacquer. The once-gloomy corridor now reflects borrowed light from the glazed front door, creating a welcoming first impression for guests and estate agents alike.
Mrs Karim’s project demonstrates the power of small details: wardrobe doors were taken off their hinges to allow complete sanding right to the back plinth; original triangular edge pieces were numbered, removed, and re-installed in the same order to preserve historic patina; and a discreet expansion gap was routed where the timber met new porcelain tiles in the kitchen, preventing future cupping. Post-project, an estate-agent valuation estimated the hallway upgrade added £6,000 to the property’s asking price – a healthy return on a two-day piece of craftsmanship.
Frequently Asked Questions
How many times can a floor be sanded?
Solid boards with a 20 mm wear layer usually survive five or six full resurfacings. Engineered planks vary but two to three sands is typical.
Will sanding remove pet stains?
Minor amber marks vanish instantly. Deep black burns may require localised board replacement or a dark stain to disguise contrast.
How long will the work take?
A standard 20 square-metre lounge is often completed inside two days: one for sanding and filling, one for sealing and drying breaks.
Is the process noisy?
Yes, belt sanders hum at around 90 dB. Most clients pop out for the day or work from a coffee shop during the coarsest passes.
Environmental Responsibility
All sawdust is collected in biodegradable bags and donated to local allotments as soil improver. Used abrasive belts are sent to a specialist recycler in Kent, and every finish offered meets the latest EU low-VOC thresholds. Where feasible, patch boards are salvaged from demolition projects within Greater London, reducing transport miles and preserving timber character that modern plantation wood struggles to match.
Choosing restoration over replacement also dramatically reduces carbon footprint. A recent study by the Building Research Establishment found that sanding and refinishing a 20 m² oak floor emits less than 15 kg CO₂, compared with over 100 kg for removal, disposal, and installation of a like-for-like new floor. Clients concerned about chemical exposure can opt for plant-based hardwax oils derived from sunflower and carnauba, and child-safe lacquers that carry the British Allergy Foundation’s Seal of Approval.
The Final Word
A lovingly restored timber floor is more than a cosmetic upgrade; it is a statement about craftsmanship, sustainability, and respect for your property’s heritage. By choosing Expert Wood Floor Sanding you place that responsibility in the hands of people who treat your home as carefully as their own, deploying advanced machinery, time-honed skill, and an artist’s eye for detail.
Ready to Begin?
Book a free in-home consultation today and discover how Expert Wood Floor Sanding can transform your Hounslow home from the ground up. Phone 020 3151 9079 or complete the quick quote form on our website – your perfect floor is just a sanding away.